P-40 Warhawk Forums
November 11, 2024, 01:54:32 AM *
Welcome, Guest. Please login or register.

Login with username, password and session length
News: SMF - Just Installed!
 
   Home   Help Search Login Register  
Pages: [1]
  Print  
Author Topic: P-40N Warhawk "Geronimo" - 1/48 Hasegawa  (Read 22801 times)
K.C. Hawk
Newbie
*
Posts: 47


View Profile WWW Email
« on: August 14, 2013, 04:34:12 AM »

Hello Dear Friend ...
... Back after a long break

Pictures on white and black background.
Enjoy !


Logged

Mark Joyce
Sr. Member
****
Posts: 408


View Profile
« Reply #1 on: August 14, 2013, 12:21:05 PM »

You've been missed, but what a way to make a return!  A truly outstanding build.  I hope you documented it in-progress and would be willing to share that with us so I don't have to pester you with many questions about it!  Thank you so much for sharing the photographs.

Regards,

Mark
Logged

Ignorance is bliss
K.C. Hawk
Newbie
*
Posts: 47


View Profile WWW Email
« Reply #2 on: August 14, 2013, 03:00:03 PM »

Hello Mark...

I have pictures of most of the steps of painting of this model. I will try in a few days then paste them together with a description of color and painting steps.

Cheers
Kris
Logged

Vince_M
Sr. Member
****
Posts: 321


View Profile
« Reply #3 on: August 15, 2013, 04:53:55 AM »

Wow!
You did such a fantastic job on that model....

PERFECT
Logged
K.C. Hawk
Newbie
*
Posts: 47


View Profile WWW Email
« Reply #4 on: August 17, 2013, 07:12:19 AM »

Thanks Vince !

Base - kit painted Mr hobby surfacer 1200


Base color Azure Blue - Gunze C


Blue Gray C367 + White


... and more white


Base Middle Stone C021


Second Base Sandy Brown C019 + Wihite + Red ... without proportion, so that was good.


... and more white ...


Decals...


delicate wash - neutrag gray MIG Productions and brighten each panel


first streaks, oil colour by Talens


from the exhaust fume stains were applied


streaks on the top


reduce streaks


Fuel tank


Top side finish


Pigments MIG


Time painting 4days.
Thans  Wink
Logged

Mark Joyce
Sr. Member
****
Posts: 408


View Profile
« Reply #5 on: August 21, 2013, 04:45:33 AM »

Krystian,

Thanks for sharing your weathering techniques, for the end results are truly fantastic.  How did you rid your model of those seams from the plugs and inserts?  

Thanks again for posting the photographs!

Mark
« Last Edit: August 21, 2013, 04:51:54 AM by Mark Joyce » Logged

Ignorance is bliss
K.C. Hawk
Newbie
*
Posts: 47


View Profile WWW Email
« Reply #6 on: August 24, 2013, 05:31:28 AM »

Thanks Mark.

My English is very bad, I do not understand everything. About what part do You mean?

Cheers.
Kris.
Logged

Mark Joyce
Sr. Member
****
Posts: 408


View Profile
« Reply #7 on: August 24, 2013, 10:13:54 AM »

Hello Kris,

Your English is fine!  I probably didn't phrase my question very well.

Here is a picture of the instructions to help explain:

For instance, the instructions show that parts M1 and M2 are glued to the wing assembly  You did something when building your model that, if I didn't know this was the case, I would never know these were separate parts.  It is like gluing the fuselage halves together and not being able to tell that these were separate parts, like a real P-40 is like.  I am wondering what you did to make your model look so realistic in this regards.  I often used "CA" or superglue to get rid of these seams.

I hope this helps in explaining my questions!

Mark
Logged

Ignorance is bliss
K.C. Hawk
Newbie
*
Posts: 47


View Profile WWW Email
« Reply #8 on: August 24, 2013, 04:59:36 PM »

Hi.
Now understand.
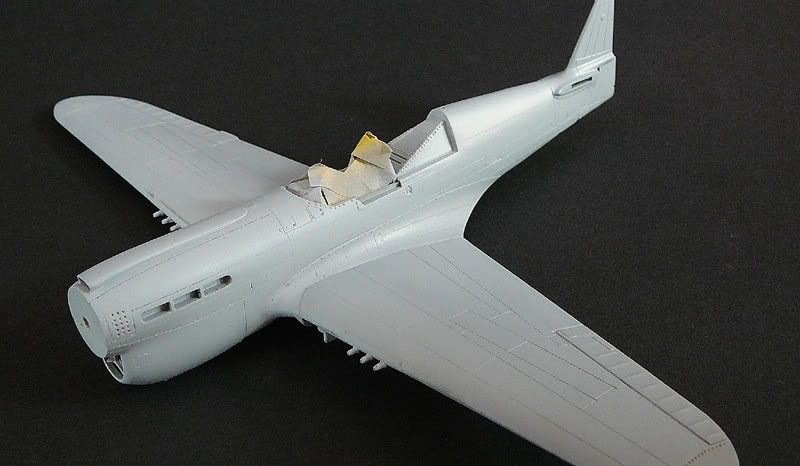
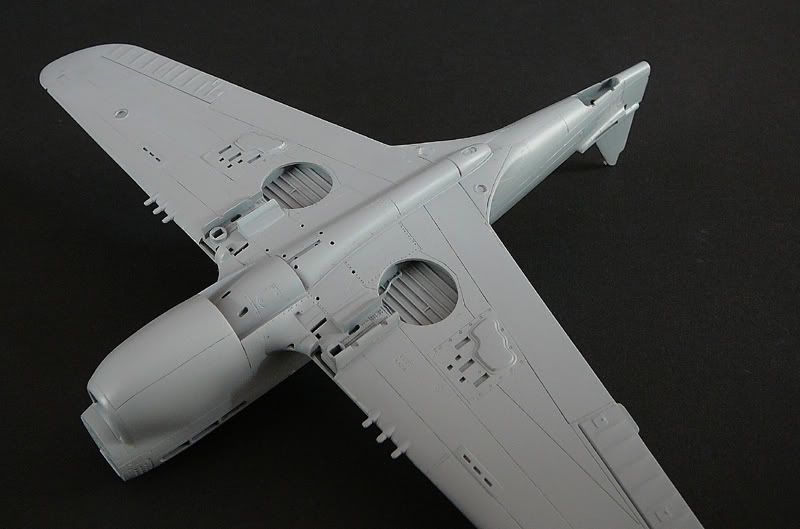
To use all the filling, mix Tamiya putty + CA. Polishes into effect until it is okay. Also modified the order of gluing the fuselage.

The instructions show that the build part A17 + A16, then we make a part for a walk E4, then tail F7 + F6. At the end of fuselage glued to his tail.

I glue fuselage part A16 + F6 tail section ( left side ) then I make Fuslage part A17 + F7 tail ( right side ) Place glue fill and polishes, It`s eaiser.
glue finished at the end left and right sides and put part E4.
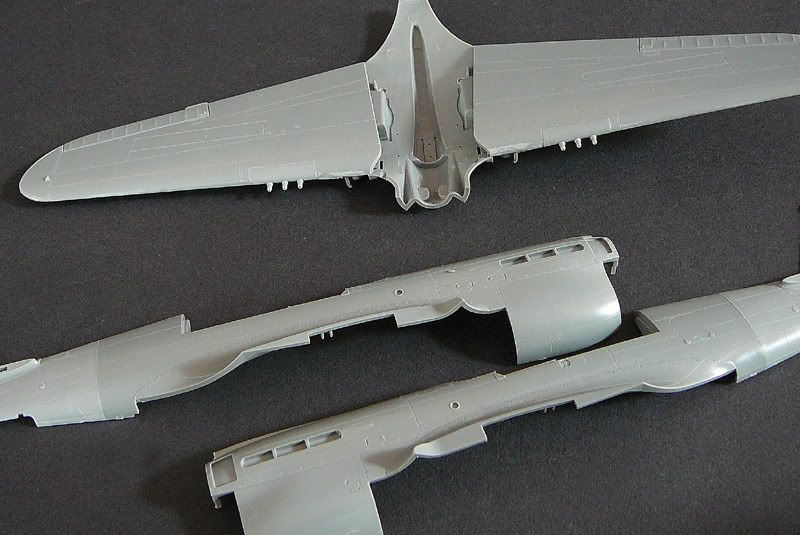
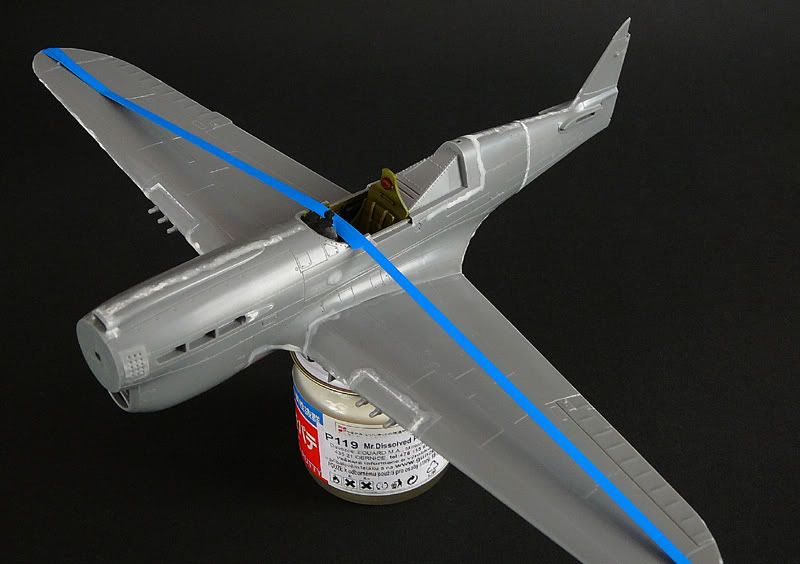
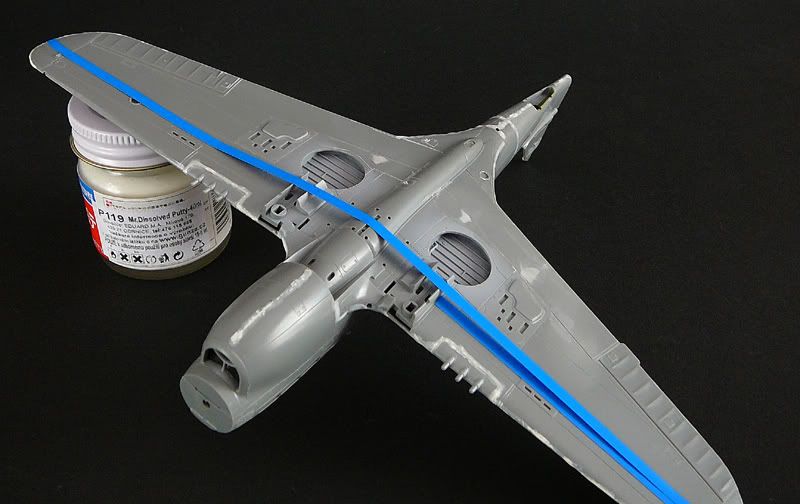


Surfacer 1200 after grinding

Logged

Pages: [1]
  Print  
 
Jump to:  

Powered by MySQL Powered by PHP Powered by SMF 1.1.21 | SMF © 2015, Simple Machines Valid XHTML 1.0! Valid CSS!